

Adding Your User Profile
Your community is quite literally a brand-new social platform that everyone - including you - will need a new account for. So in order to login to your community for the first time, you will need to add your user profile. This can be done from your admin portal at portal.jedari.com.
You can use the same login for your community, or you can use a different one. It is a completely separate platform, after all.
How To Add Community Members
- Login to portal.jedari.com
- Open Your Community Panel to get to your Blue Community Dashboard

- Users → List
- Add

- Fill in the required info (below)
User Information
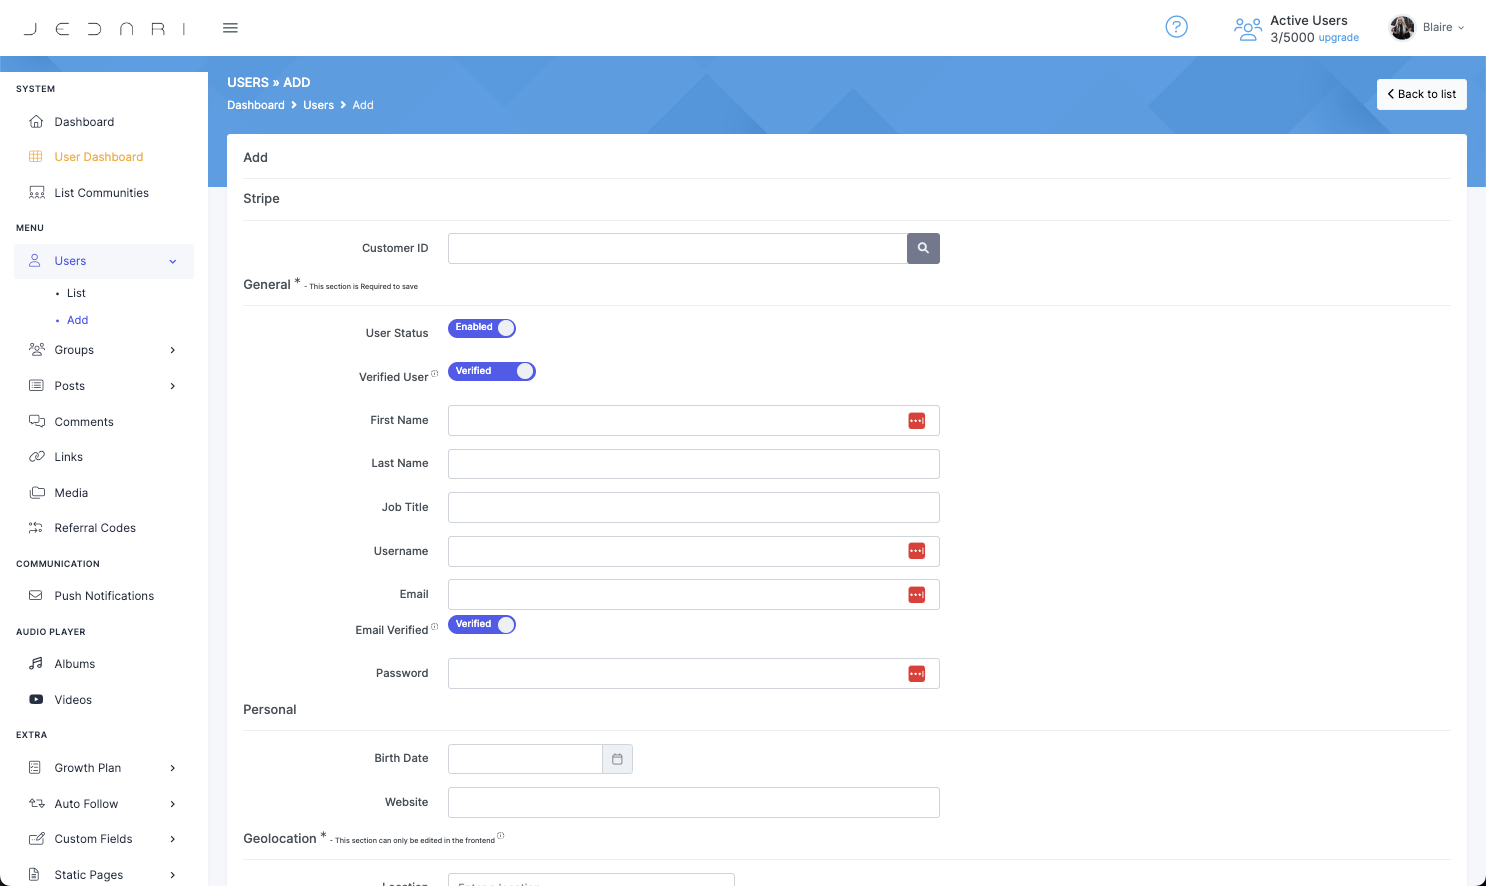
Stripe
- Customer ID: If they are an existing client and you have their Stripe Customer ID, you can paste that in to the Stripe Customer ID box. This will automatically import their credit card information.

General
- User Status: Easily disable the user so they will no longer be able to login to their account.
- Verified User: Decide if they will be a Verified User with a simple switch.

- This gives them a blue checkmark on their profile and additional permissions based on your community settings.
- First Name, Last Name: Self-explanatory.
- Job Title: Not required to save & can be edited from their profile.
- Username: Functions like an @instagramhandle. (Ex: @jedariofficial) No spaces or weird characters, please. Can also be used to login in additional to their email address.
- Email Address: The email used to login to their account on your community.
- Email Verification: Make sure to Verify their email, otherwise they will not be able to login.

- Password: You have to assign a password to create an account, so if you're creating it for someone else, create a generic password, make sure to share it with them, and let them know they can change their password from their profile.
Personal
- Birthdate + Website: This section is not required to save, & can be edited from their profile.
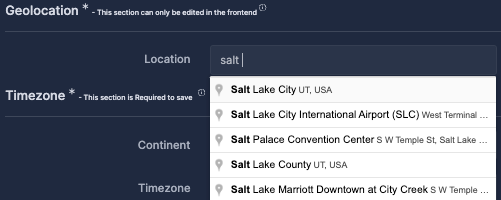
Geolocation
- This section is required to save, so just start typing in a city and select from the list.
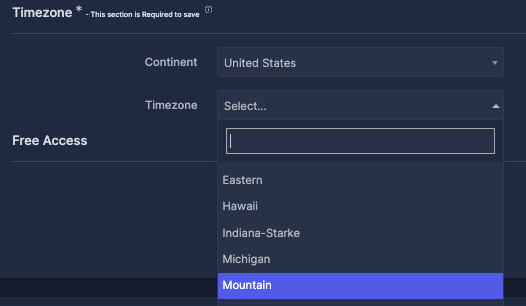
Timezone
- This section is also required to save, so pick their timezone from the list.
Free Access
- Enabling Free Access means that even if your community is Paid, this user will still be able to access every section of your community for free. If your community is completely free, this doesn't actually change anything and isn't necessary.

User Management
As new users sign up for your community, you will be able to see all of their information from the User Dashboard.

How To Edit A UserIf you'd like to edit a user, just click on the three dots to the right of their name and hit the Edit button.

You can:
- Make a user verified
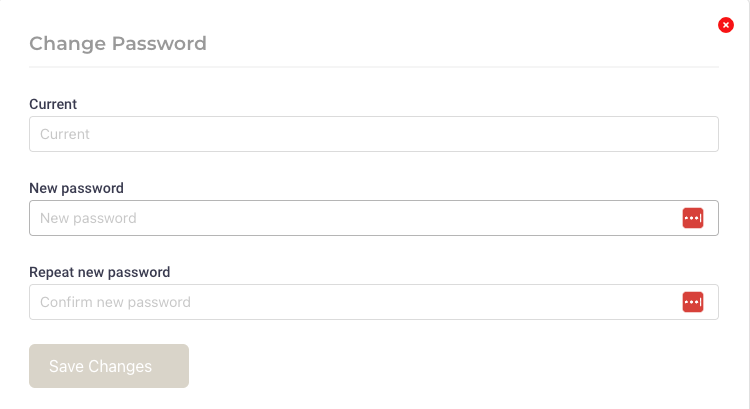
- Manually reset their password
- Manually verify their email
- Grant them free access
- Change their subscription (Below)
- And more.
Additional Editing Capabilities
Billing: Change Subscription
If you have their credit card info, you can change a user's subscription level with a couple of clicks. It's important to note that changing a subscription will charge the user's card when the profile is saved.

Custom Fields: Collect Additional Information

If you have Custom Fields set up to collect additional user info, you will see those under your individual users on the backend when you go to add or edit a user.
- Custom Fields can be set up to collect additional information from your users that isn't pre-programmed into our user profiles, such as phone numbers.
- You can add custom fields under the Custom Fields section in the Community Dashboard.
- Custom Fields Tutorial
View User Information
In the Action Menu to the right of each user profile, you can also view the user information.

This will take you to their User Information Dashboard:
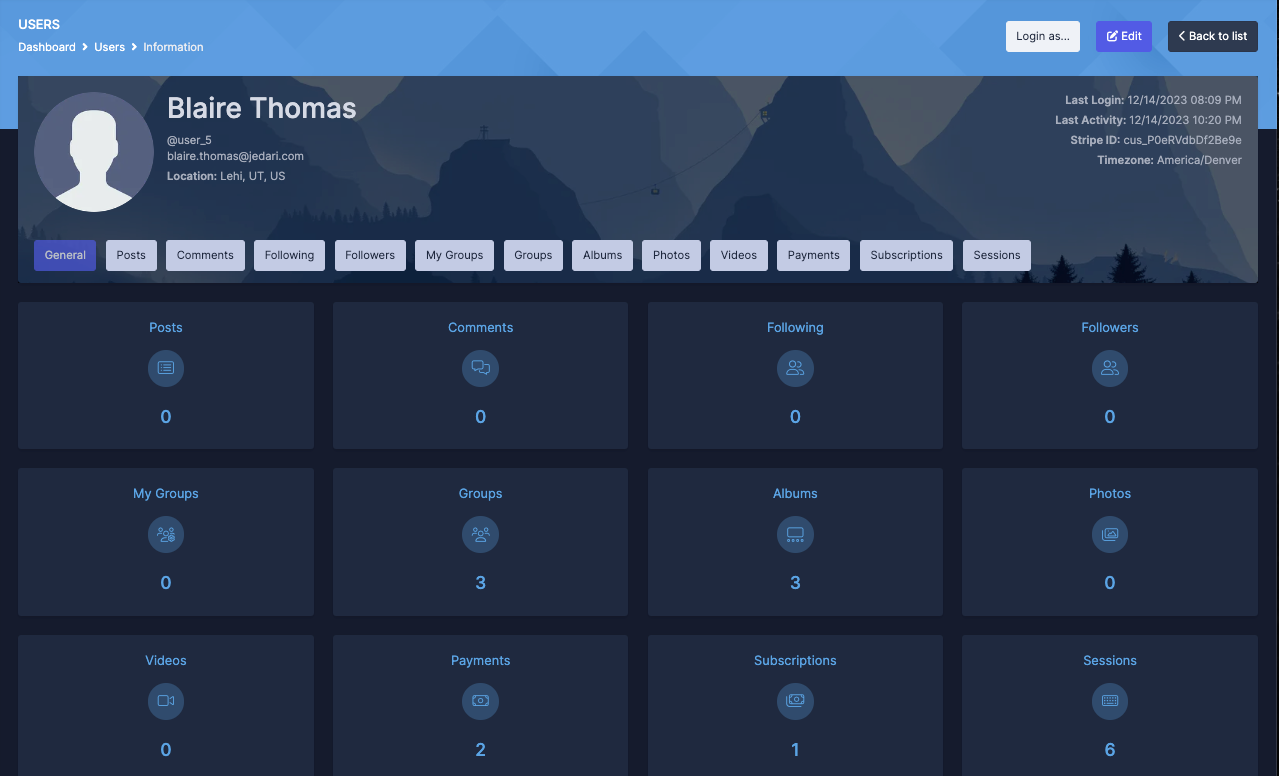
Where you will be able to see everything from subscriptions and payments to sessions and posts for that particular user.
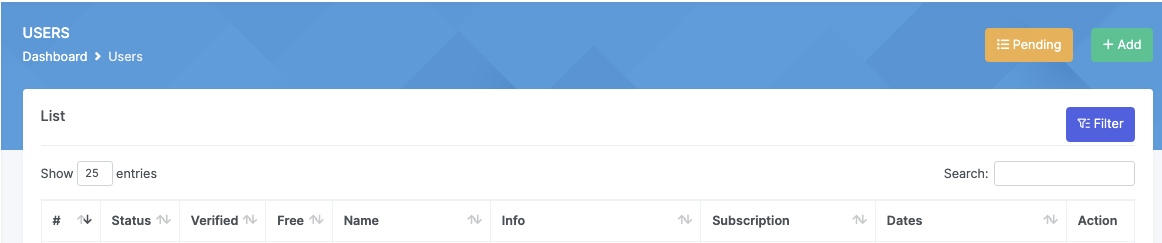
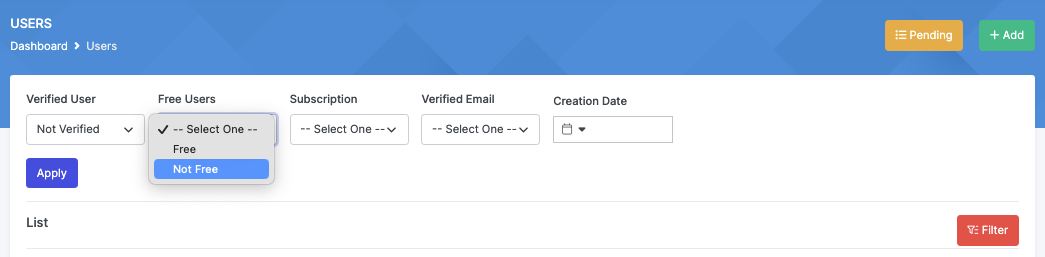
Need To Find A Particular User? Use Filter & Search
- Filter: Clicking on the Filter

- button above your user list, will allow you to easily narrow down your search based on specific criteria.
- Search: Or if you already have a user in mind, just enter their name or relevant information into the search bar to summon them instantly.

How To Approve Pending Users
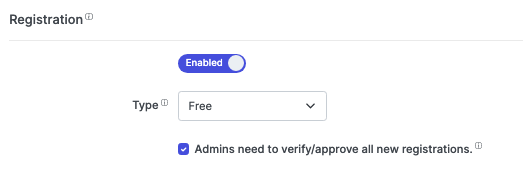
If you have the "Admins need to verify/approve all new registraions" box checked on in your Community Settings (Communities → List → Edit → Customization):
Then all of your new community members will appear in the Pending List of your Community Users.

Warning: There are no native notifications to let you know when you have a user waiting approval, so you will have to regularly check to let people into your community.
If you would like to be notified of pending users, learn how to set up automations here.
You will have to manually approve pending users in order to grant them access to your community. You can do this by navigating to the yellow Pending button and selecting Bulk Approve, or approving them individually.


Login As
You can login as any of your community users from the back office by clicking on the three dots to the right of their name, and hit login as. Just make sure you're logged out of YOUR user profile first, otherwise it might cache in your login data.
Become a Community Management Pro: Unleash the Power of Connection
By mastering the art of Community User Management, you're well on your way to creating loyal customers and fostering thriving communities. Embrace the tools, engage with your users, and watch as your community flourishes. Together, we're shaping the future of connected communities one step at a time.


