

Important: Your community will look a little different from this video since the launch of Jedari V2, but the process of adding & managing groups is the same.
Video Timestamps:
- 0:14 Group Ownership
- 0:40 Creating Groups: 2 Ways
- 1:38 Gated Groups
- 2:05 Why You Should Have A Live Calls Group If You Plan To Go Live
- 3:10 Group Permissions
- 4:25 Adding Group Graphics
- 5:25 Joining Groups
- 5:55 Forwarding Posts or Lives To A Group
- 7:09 Group Admins
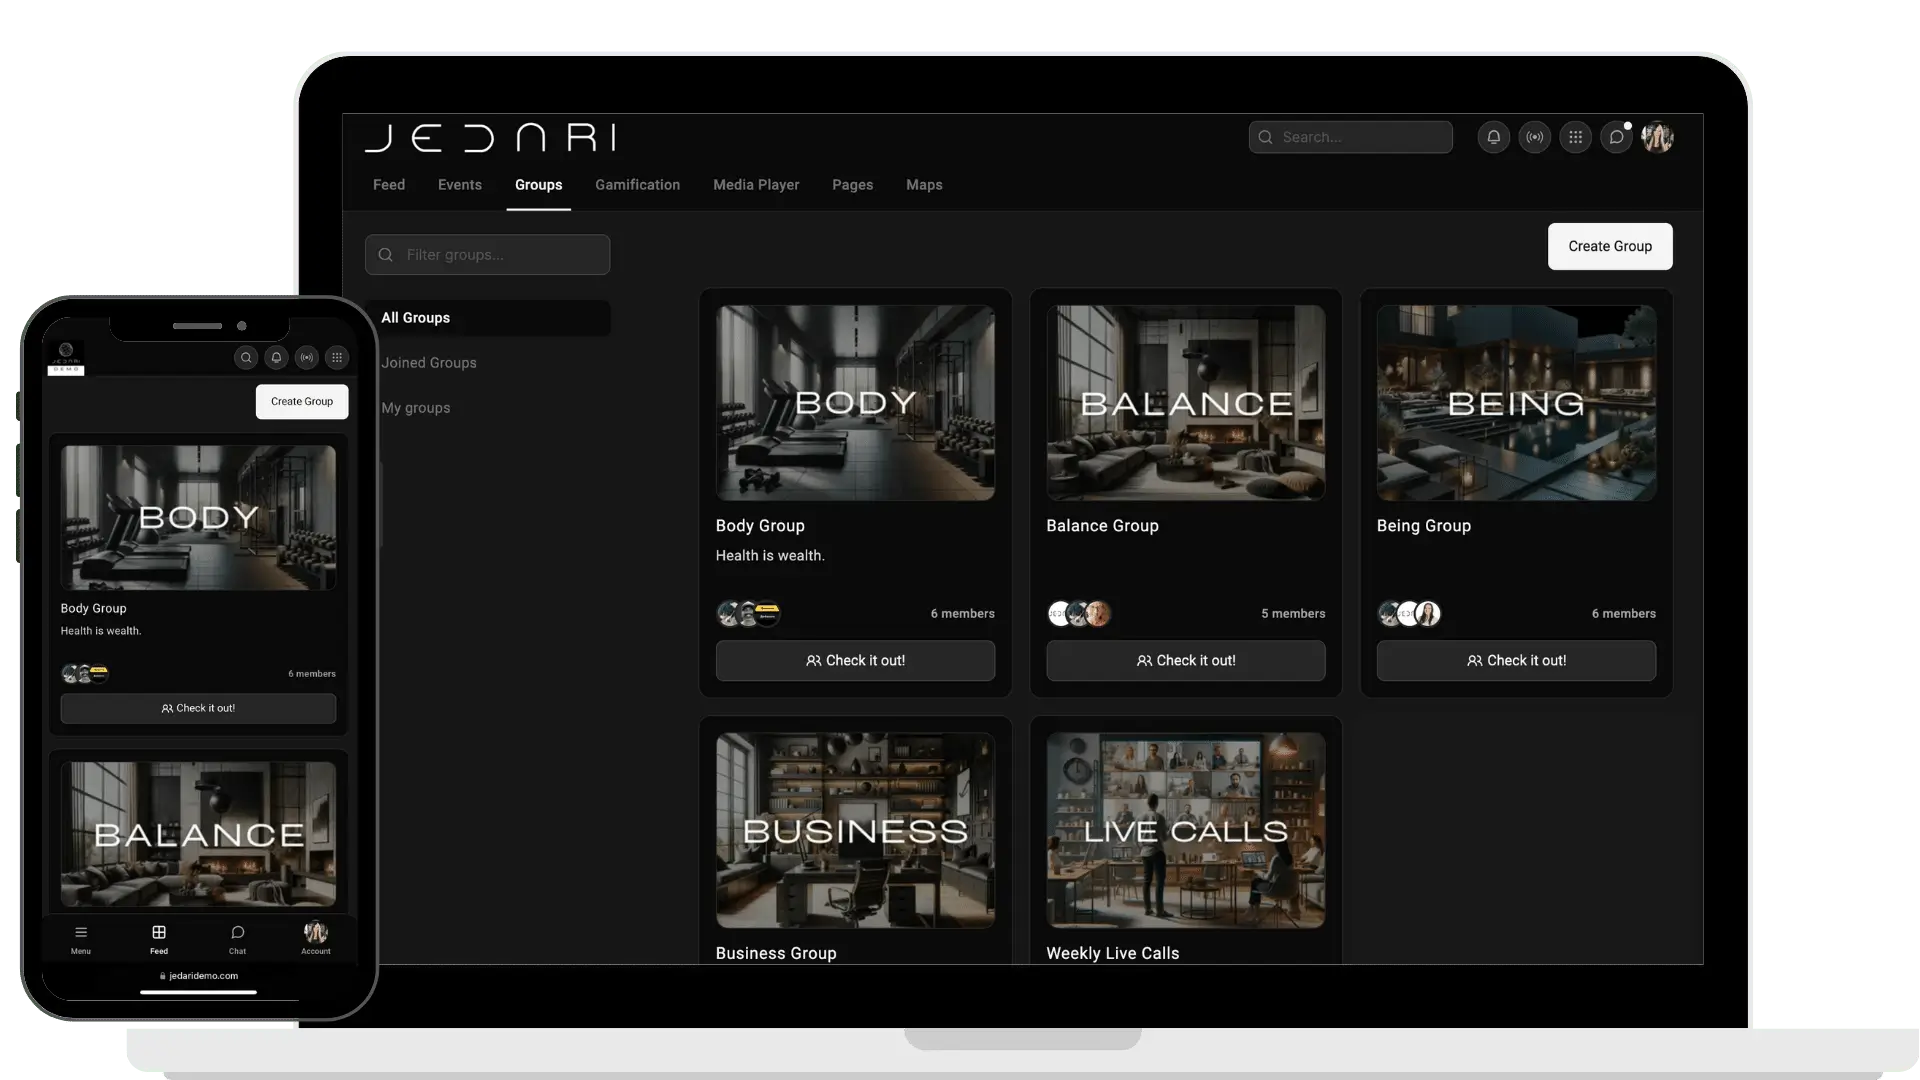
Community Groups
Create groups in your community for targeted discussions.
- Your users will need to JOIN groups to have access to them, so it's important to let them know that.
- You can create subscription-based groups to dictate who can join.
- You can go live in specific groups for only those group members to see.
How To Create Groups
You have two options to create groups: From your Jedari Portal or Frontend Community.
Add A Group From Your Back Office:
In your Blue Community Panel, click on Groups and unleash your creativity by hitting the Add button. Fill out the group information and let the fun begin!
Information Needed To Create A Group in the Back Office:
- Group Name: Give your group a catchy name (10 characters or more). For example: "Weekly Live Calls Group."
- Slug: This is what appears at the end of your domain. It's common for these to be the group name, all lowercase, with dashes instead of spaces, such as "weekly-live-calls."
- Permissions: Define who can join, post, and comment in your group. Open the doors to everyone, create an exclusive club, or fine-tune the access settings to meet your vision.
- Owner: Start typing the username of who you want to own the group, then select their member profile from the auto-populated list. On the frontend, whoever is creating the group will automatically be the owner.
Subscription: Create Gated Groups

- If you have plans in your community, you can create subscription-based groups. Enable the Subscription Switch in your groups and select the plans that will grant access to this exclusive group.
- Must have Stripe connected to your community and plans added before you will be able to create subscription-based groups.
Creating Groups On Your Frontend:
Depending on your community settings and your access level, you will also be able to create groups from the frontend if you prefer. Just navigate to the groups section and select the New Group button, and fill out the information.
You'll notice that there are less options here than there are when adding from the backend, but you'll still want to check out the groups on the frontend to add group graphics.
Add Group Graphics
IMPORTANT: You need to be an owner or admin of a group in order to upload photos or make edits.
You can check group ownership from the group page, either in your admin portal, or on your frontend.

Here's how to upload or edit graphics:
Navigate to the group page on your website. If you are the owner or admin of the group, you will see the camera icons. Click on the camera icon to select the image from your device, reposition it to fit, and voila! Group graphics.
- Group Banner Dimensions: 1600 x 500 pixels
- Group Icon Dimensions: 500 x 500 pixels
Editing Groups Like A Pro
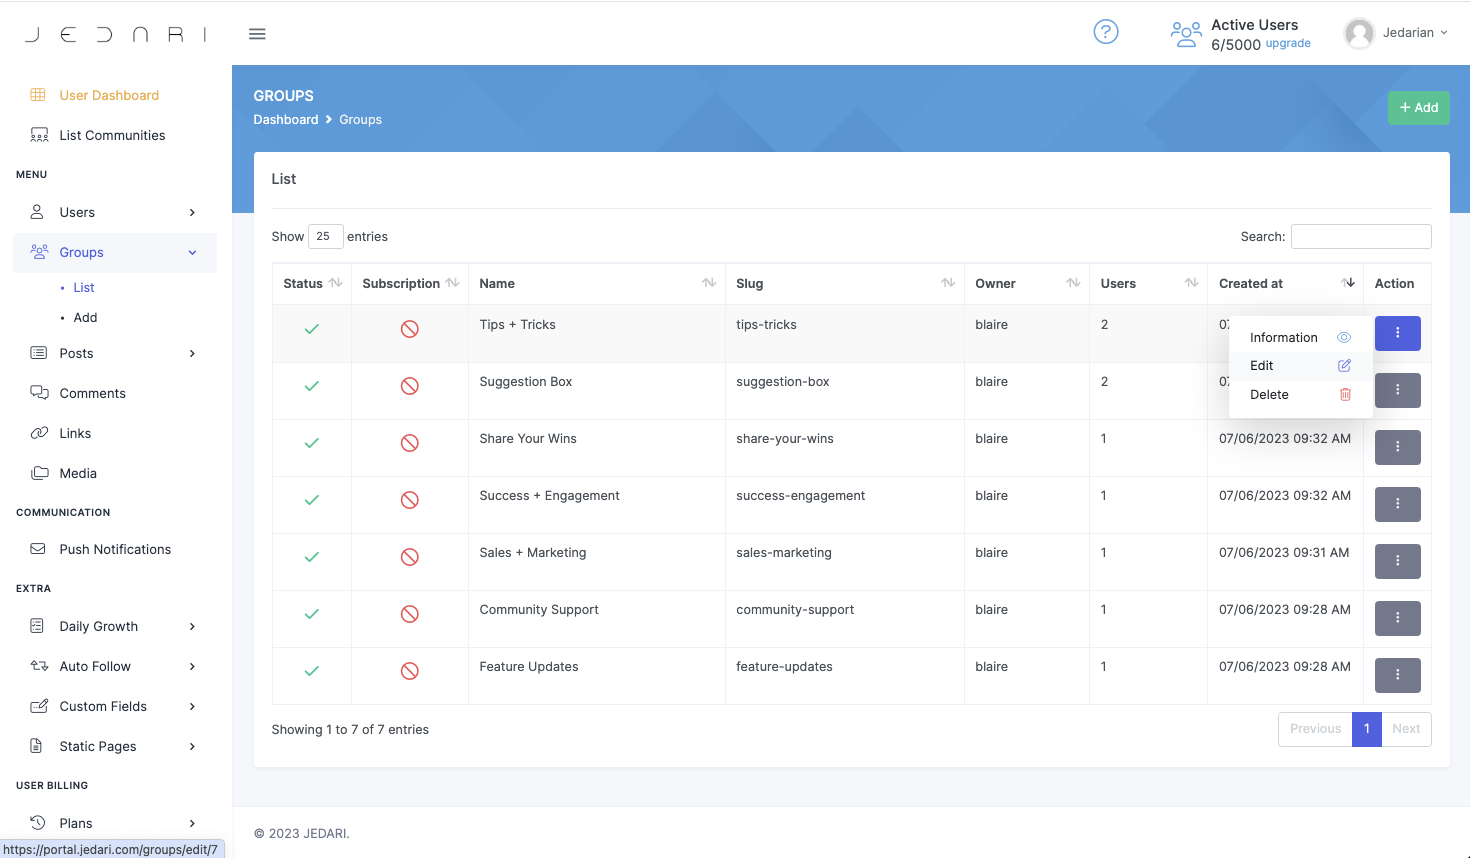
Backend:
Navigate to your Groups List in your Community Dashboard, hit the Action Menu, then hit Edit to change your groups settings in your Back Office
Frontend:
Navigate to the Group you wish to edit → About → Edit Info

Assigning Group Member Roles
Empower your group members with different roles and permissions.
On your Group Page, navigate to Members, select the desired member, choose their role from the dropdown list, and hit change. From members to admins and owners, you have the control!

Group Member Lists & Member Management

If your Group Joining Permission is set to Closed, your users will be in the Pending Users List until they are approved. You can select that list from the dropdown, then approve any pending members.
You did it!
Now that you're a group management guru, go ahead and create, customize, and nurture your groups to foster a lively and engaged community. Let the connections flourish and the fun unfold!


