Customize Your Login & Registration Pages - With Examples
To customize the text for your registration process, navigate to
- Communities → Customize
in your Jedari admin portal.
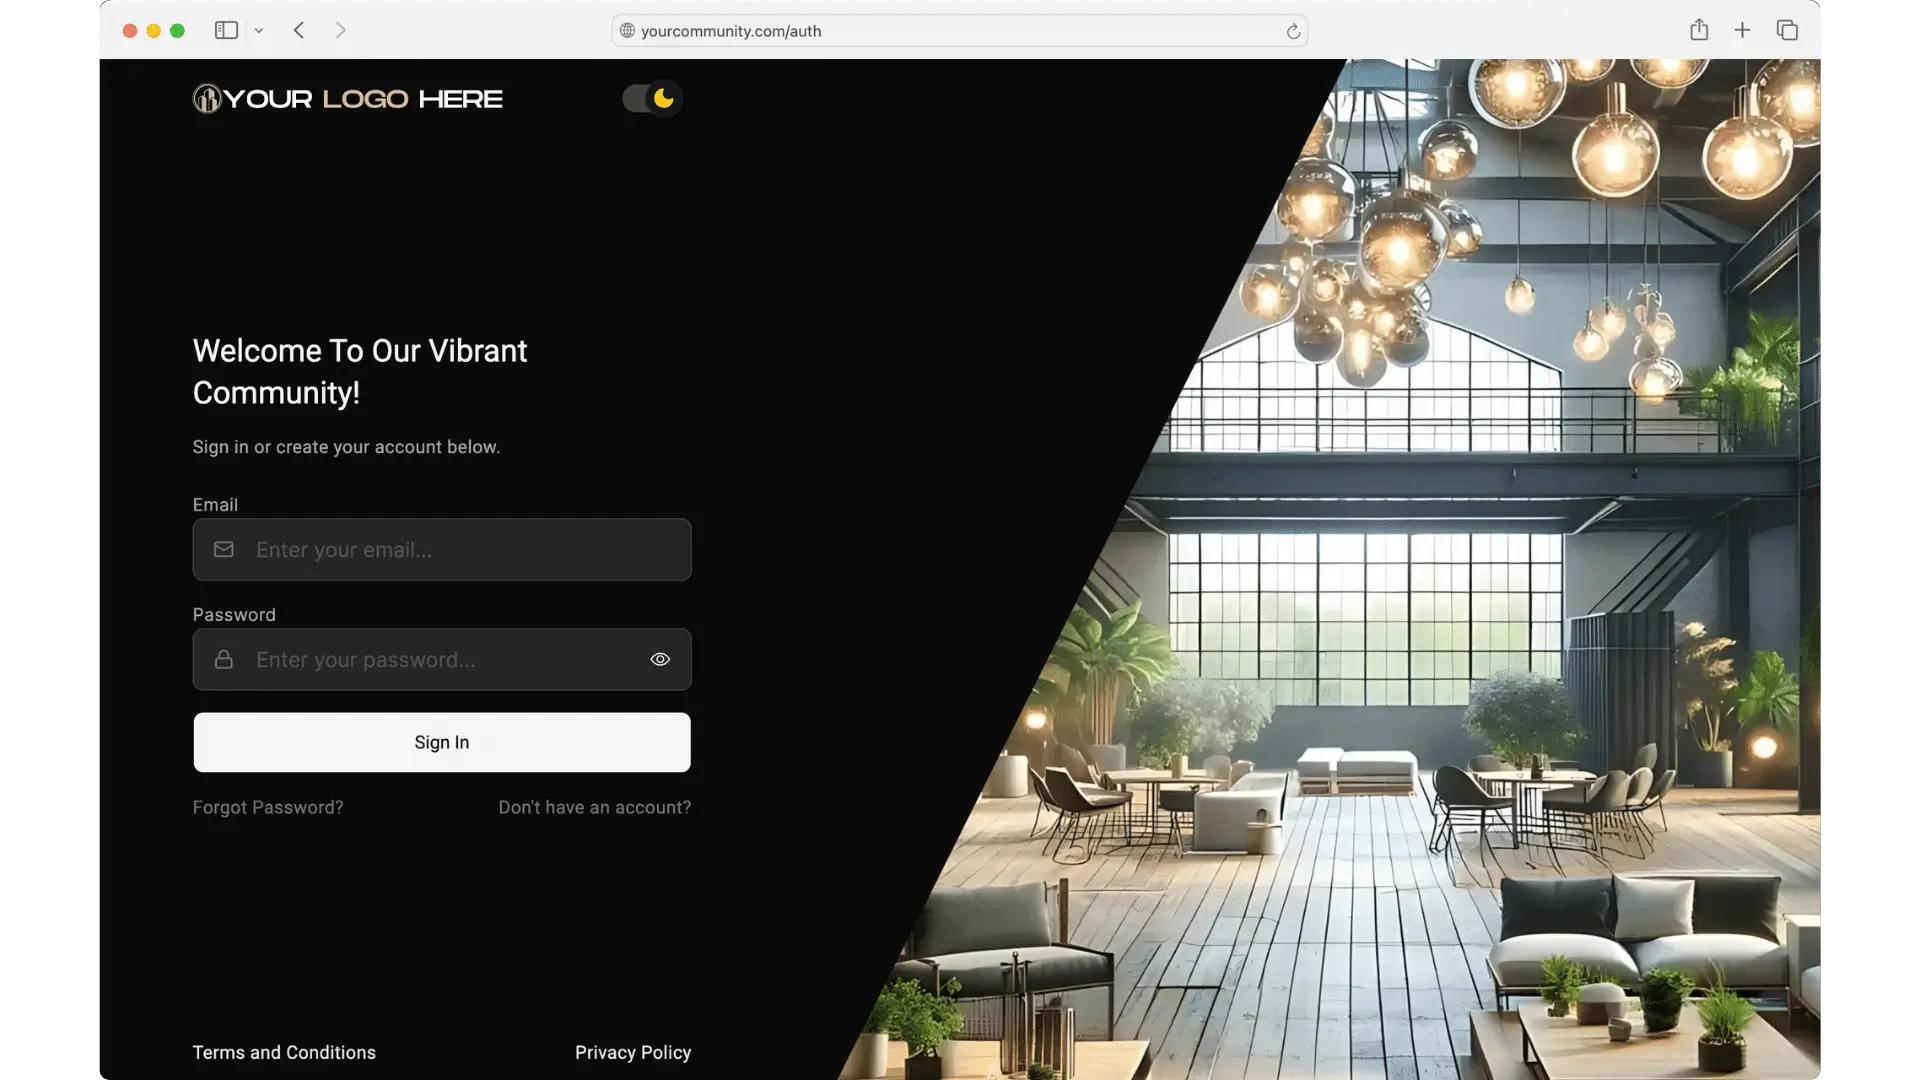
Login Page

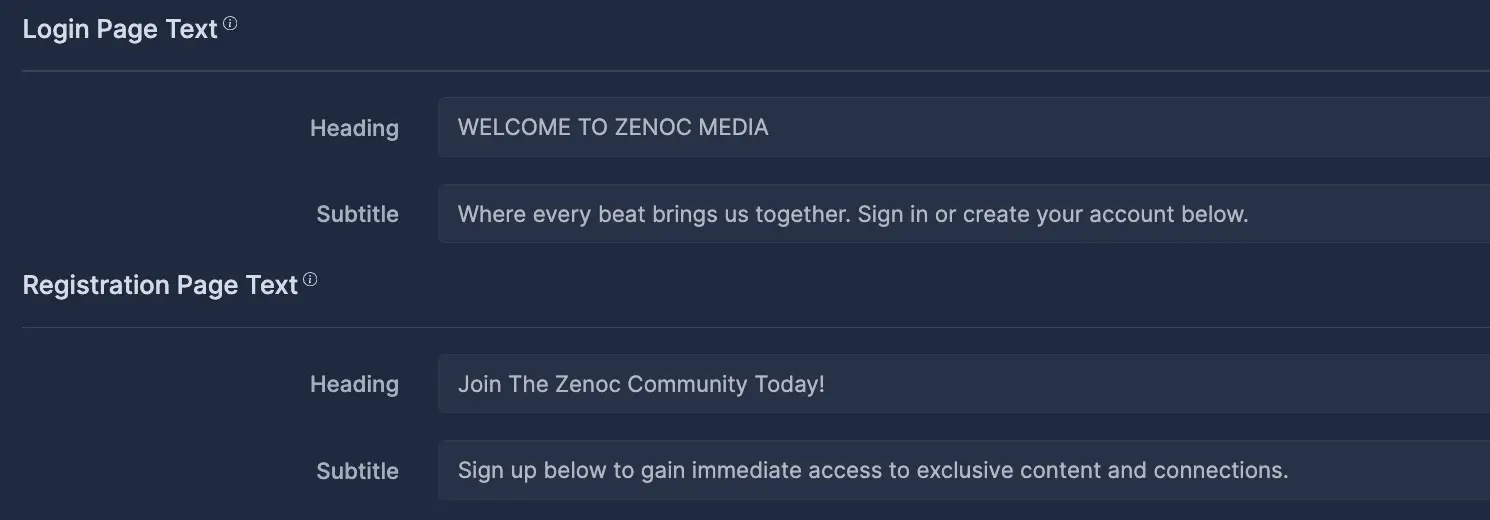
EXAMPLE:
WELCOME TO (COMMUNITY NAME)
Sign in or create your account below.
- First impressions matter! This is what your users will see when they type in your domain. Put in some text that will showcase your community platform and invite users to join.
- TEST IT OUT! It may look slightly different on your live website. Make sure to test this on your frontend site by typing in /auth or simply by logging out of your account.
Learn how to customize your login page image here.
Registration Page
.webp)
EXAMPLE:
JOIN THE COMMUNITY TODAY!
Sign up below to gain immediate access to exclusive content and connections.
- TEST IT OUT! It may look slightly different on your live website. Make sure to test this on your frontend site by typing in /register after your domain or simply by clicking on "Register a New User."
The Registration Process
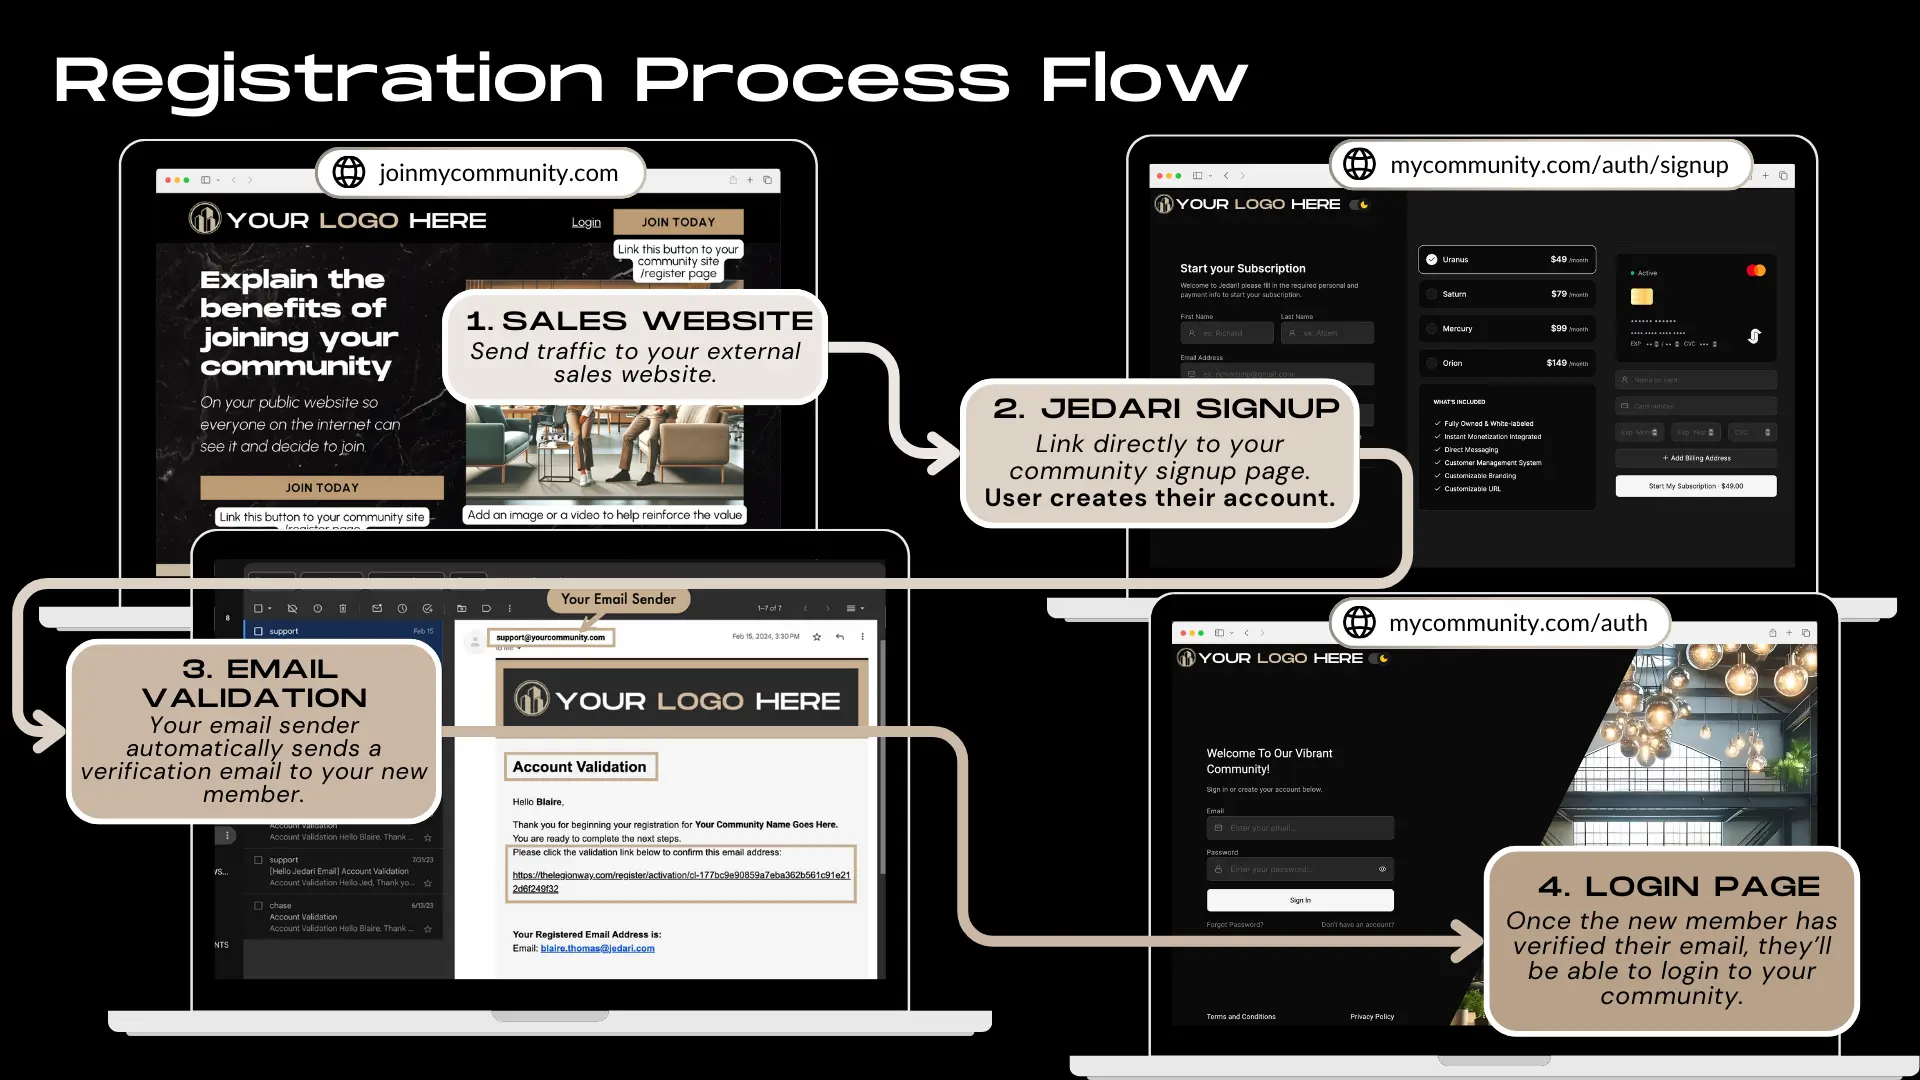
Registration Process Flow:
1. External Website
(Recommended) Send traffic to your external sales website so they can learn more about your community, pricing, and offering before they join.
Ex. jointhecommunity.com
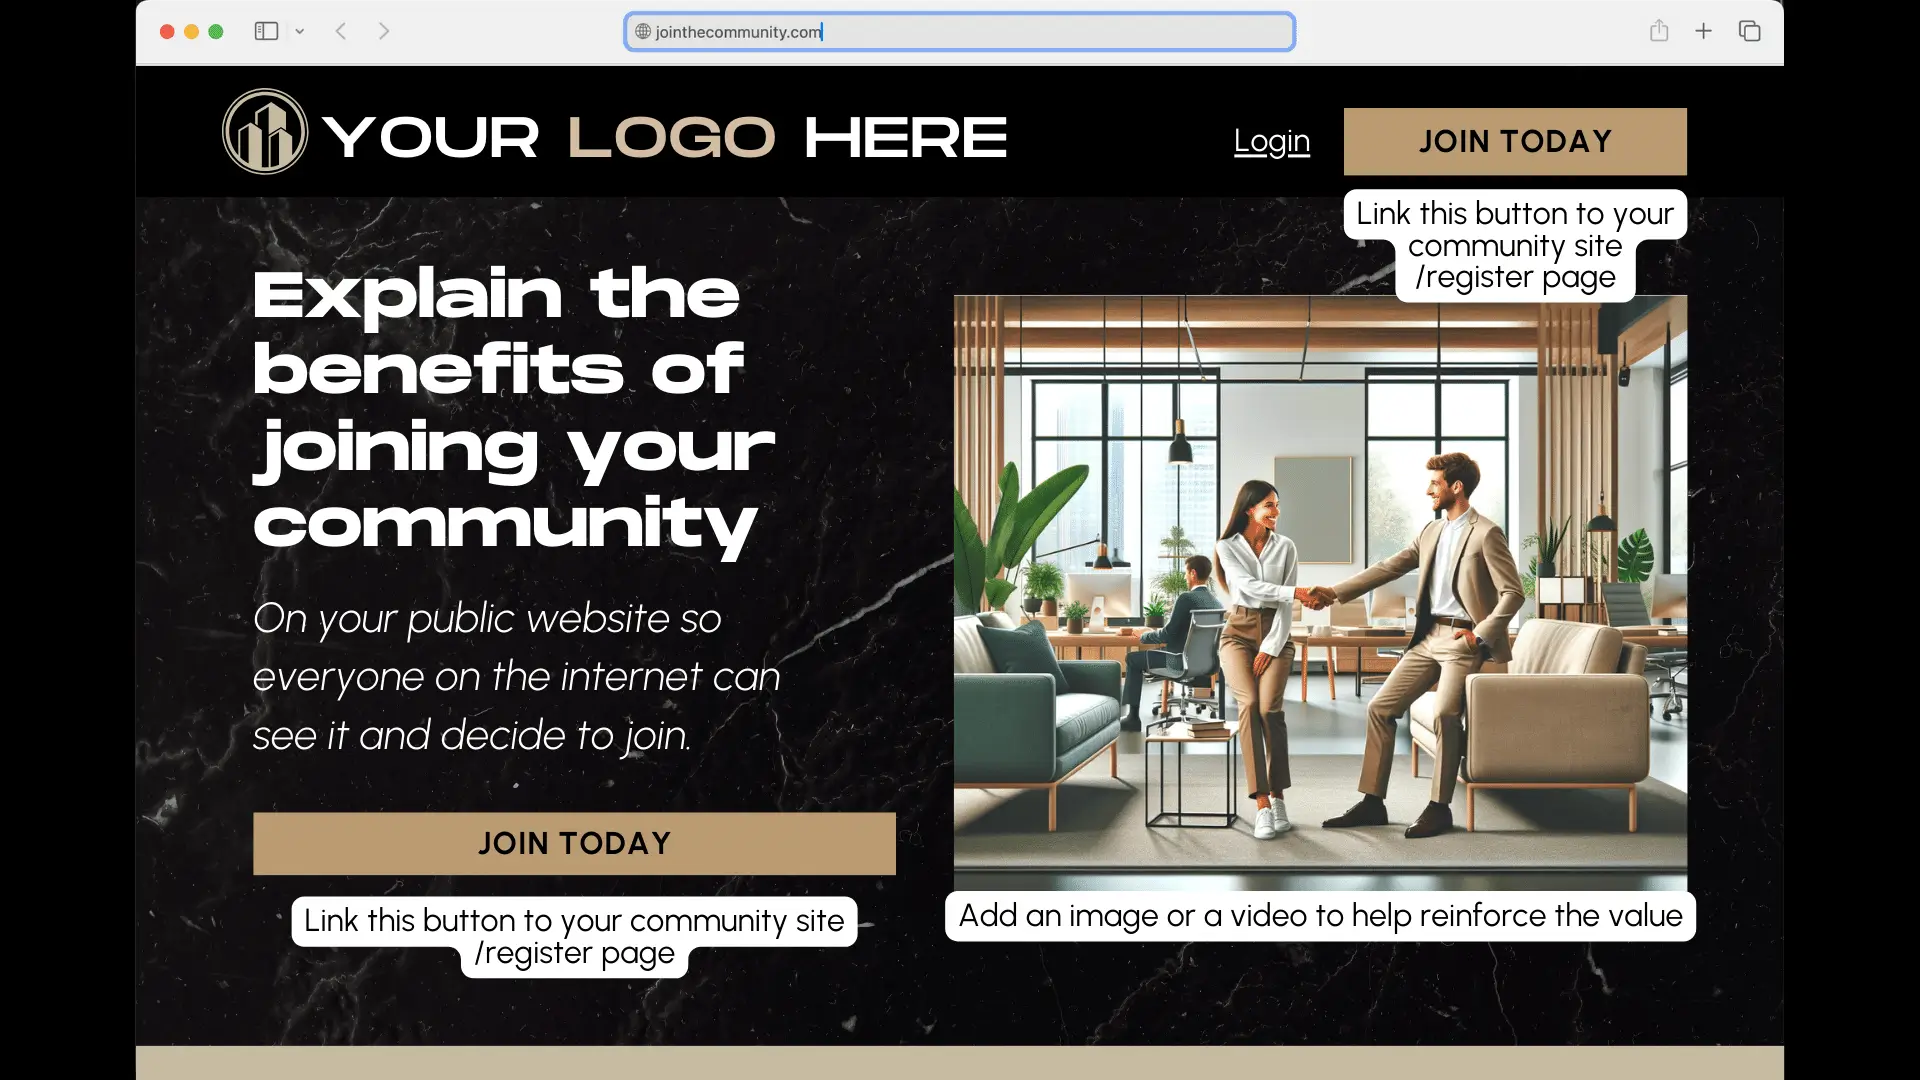
Learn more about what to include in your external sales website here.
2. One-Step Signup Page
Link the buttons on your website directly to your registration page where the user can create their account and start their subscription
Ex. thecommunity.com/auth/signup
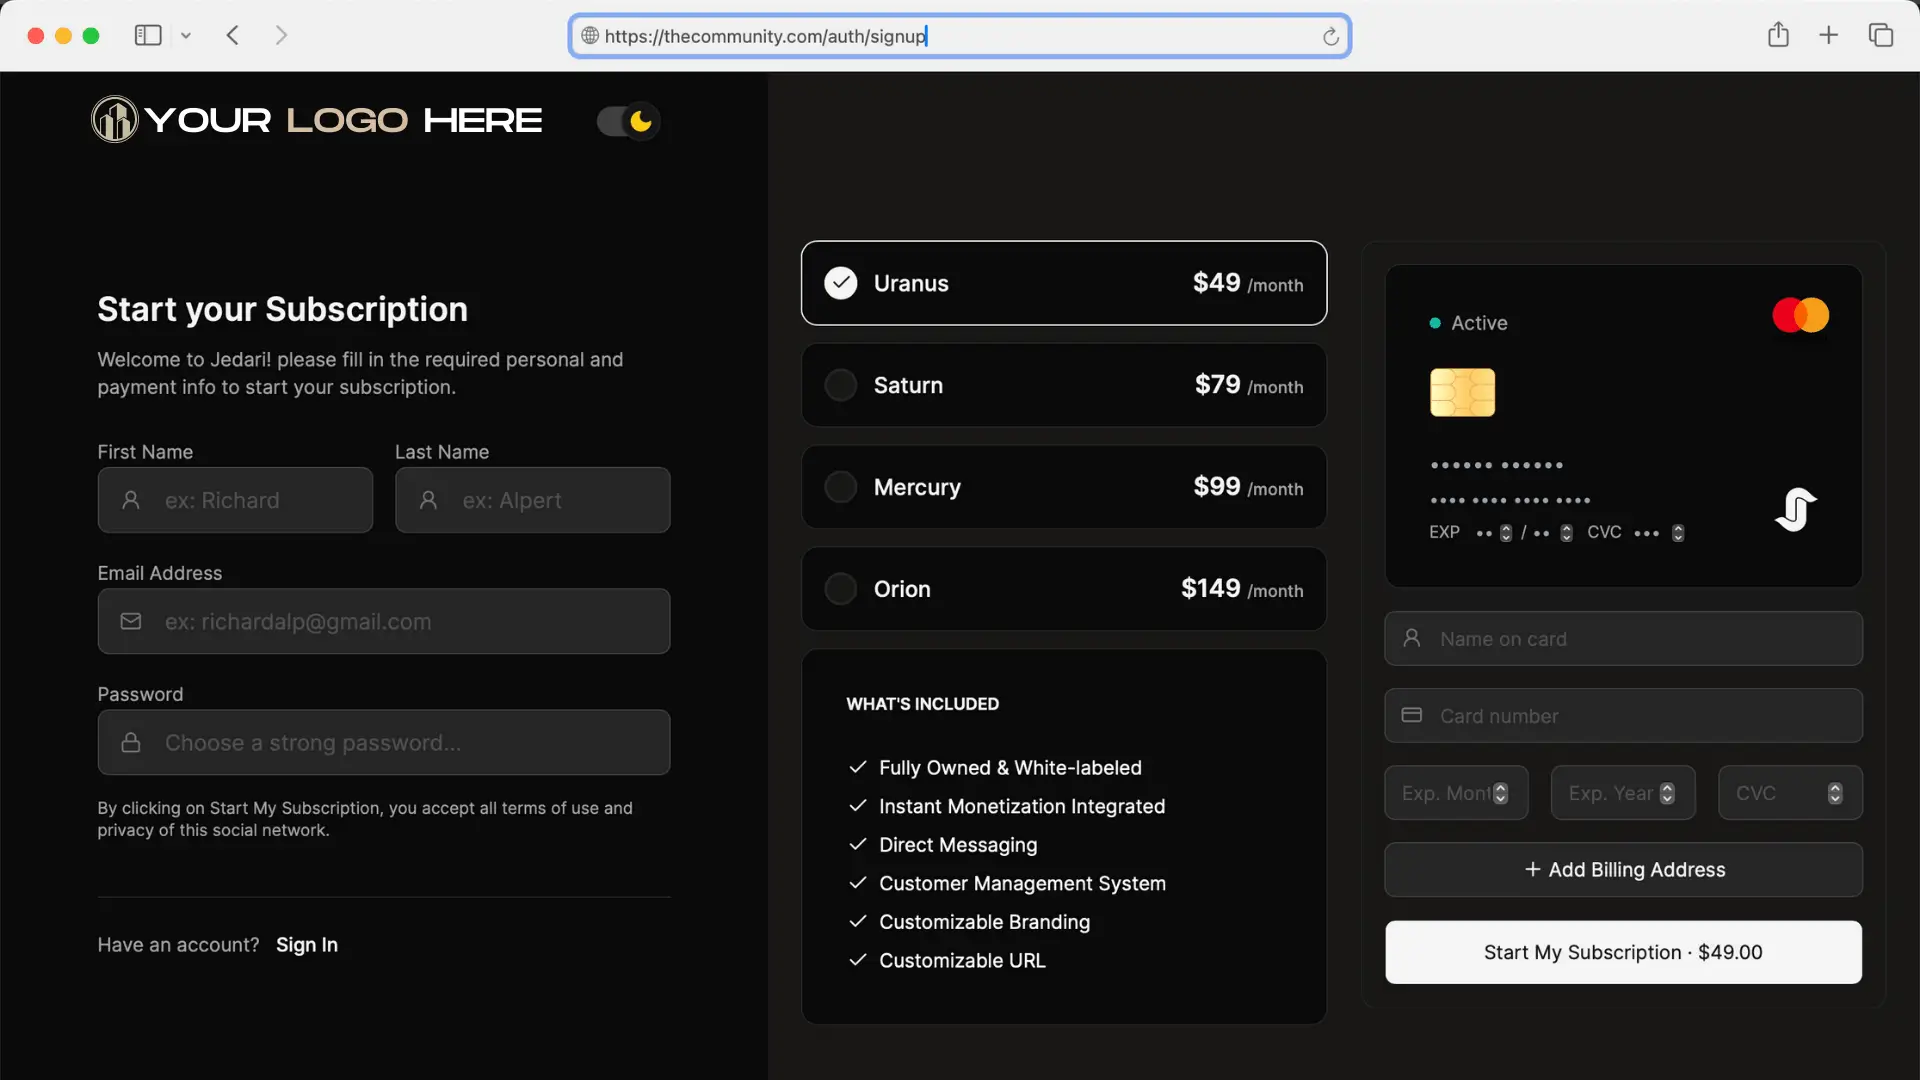
Learn how to add your membership plans here.
3. Email Validation
After the user signs up, they will receive a verification email from your Email Sender
Ex. support@thecommunity.com
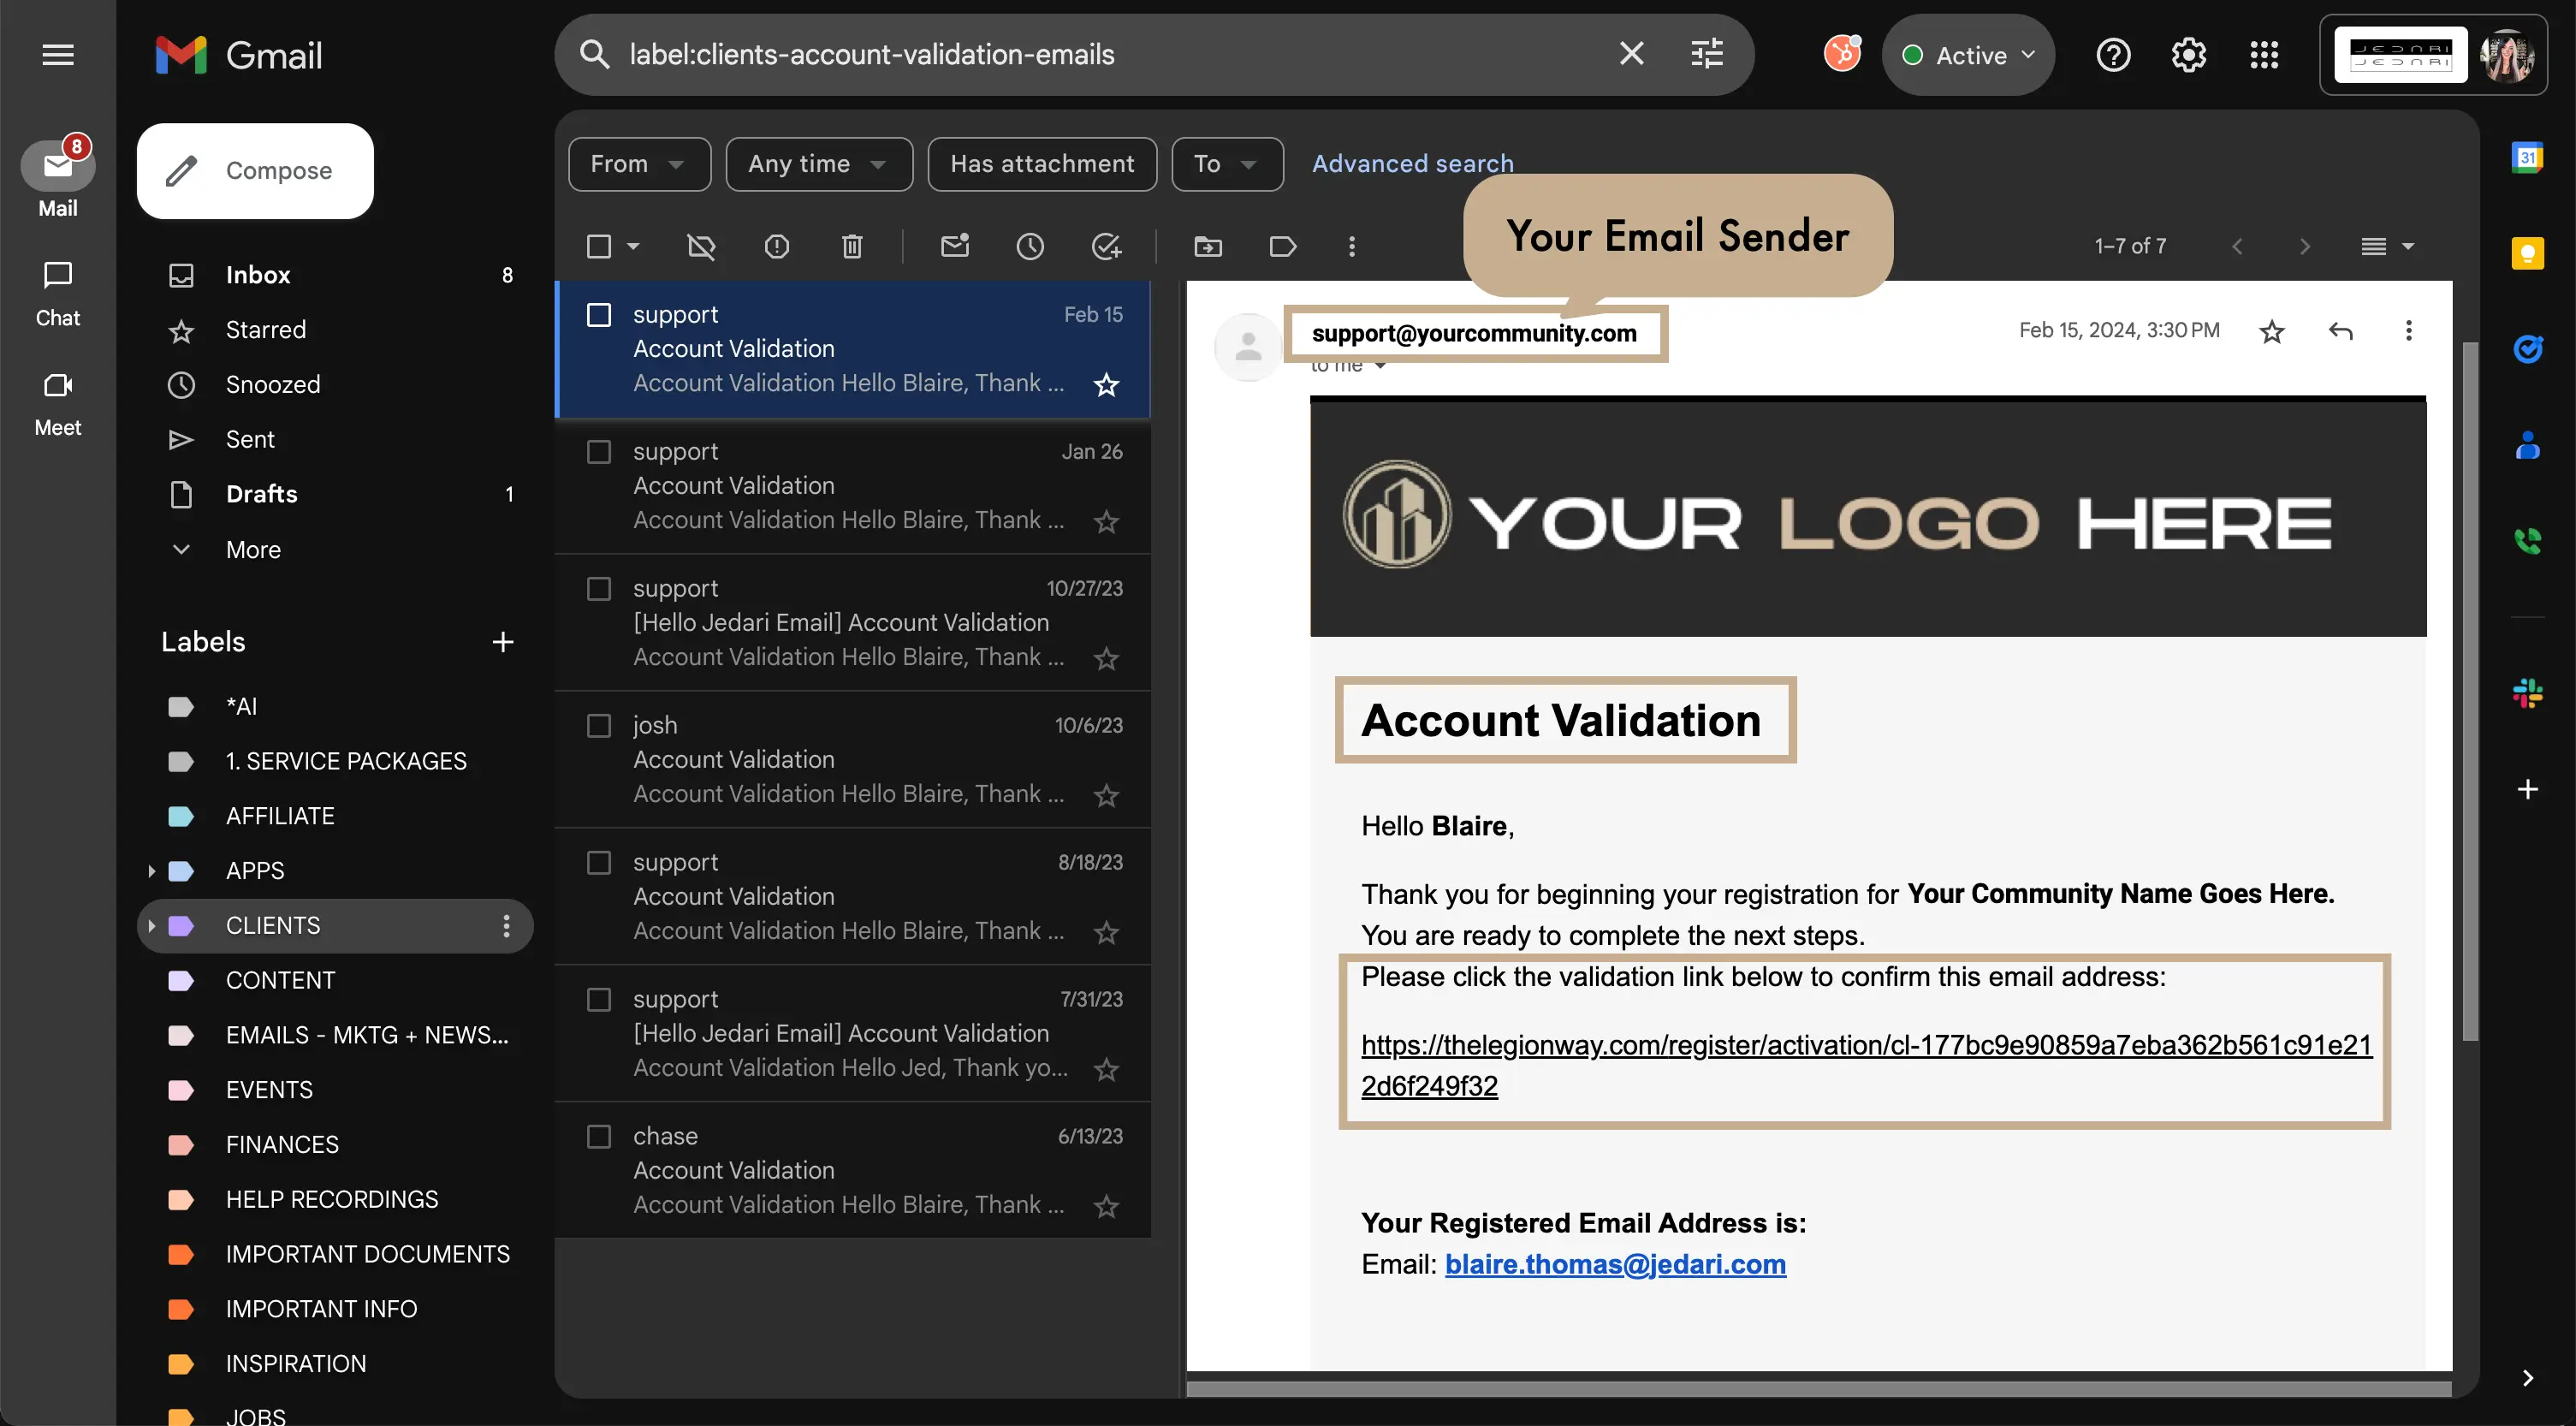
The color that shows up on the header of the email is the Light Accent Color at the top of the customize page. The logo that shows up is your Dark Version Logo.
Make sure to test your registration process so you can see how the email will show up for your users and ensure your logo has adequate contrast.
Learn how to connect your branded support email sender here.
4. Login Page
Once the user has validated their email, they will be able to login to your community.
Ex: thecommunity.com/auth
PRO TIP: Set up automations so that each new member receives a welcome email flow.
Learn more about setting up automations here.
Registration: Free Vs Paid
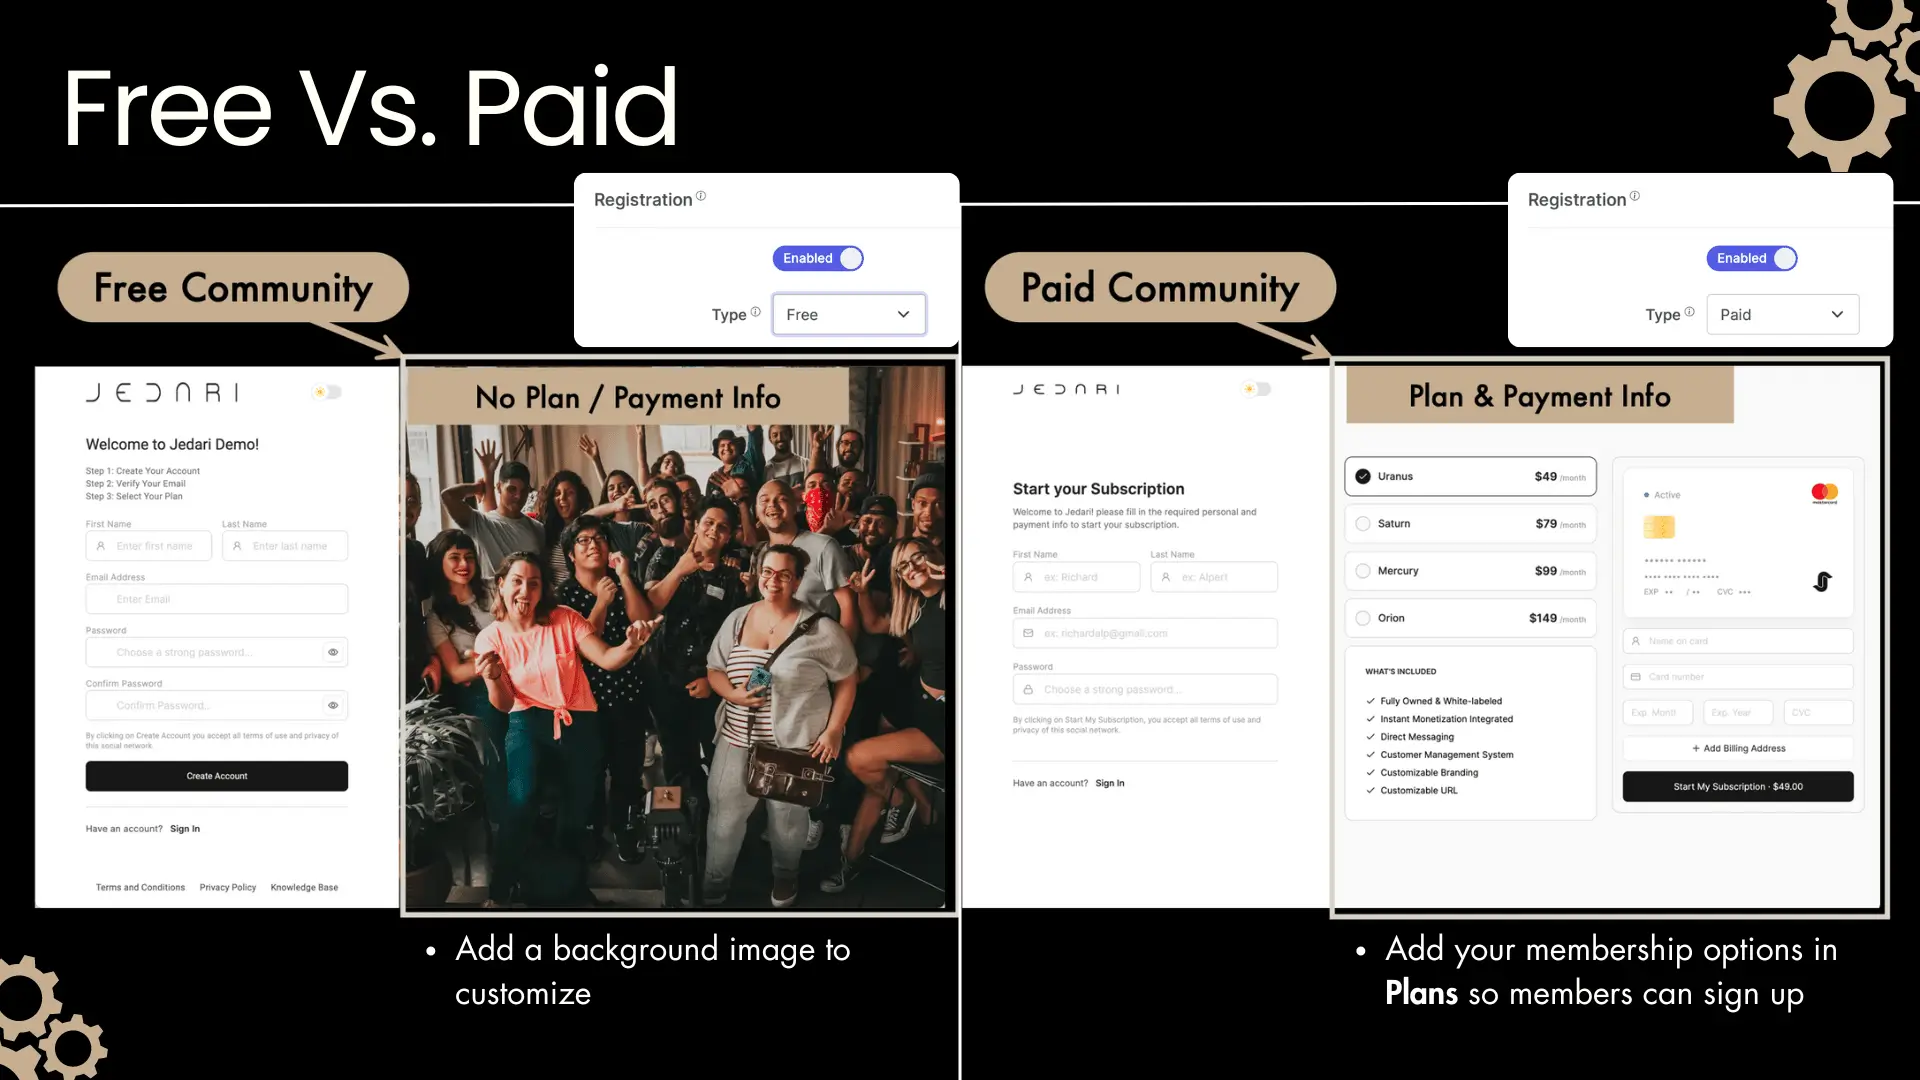
This setting is changed in Communities → Edit
Check out the full Edit Community Tutorial here
If Your Community Is Set To Paid, Make Sure To Add Your Plans
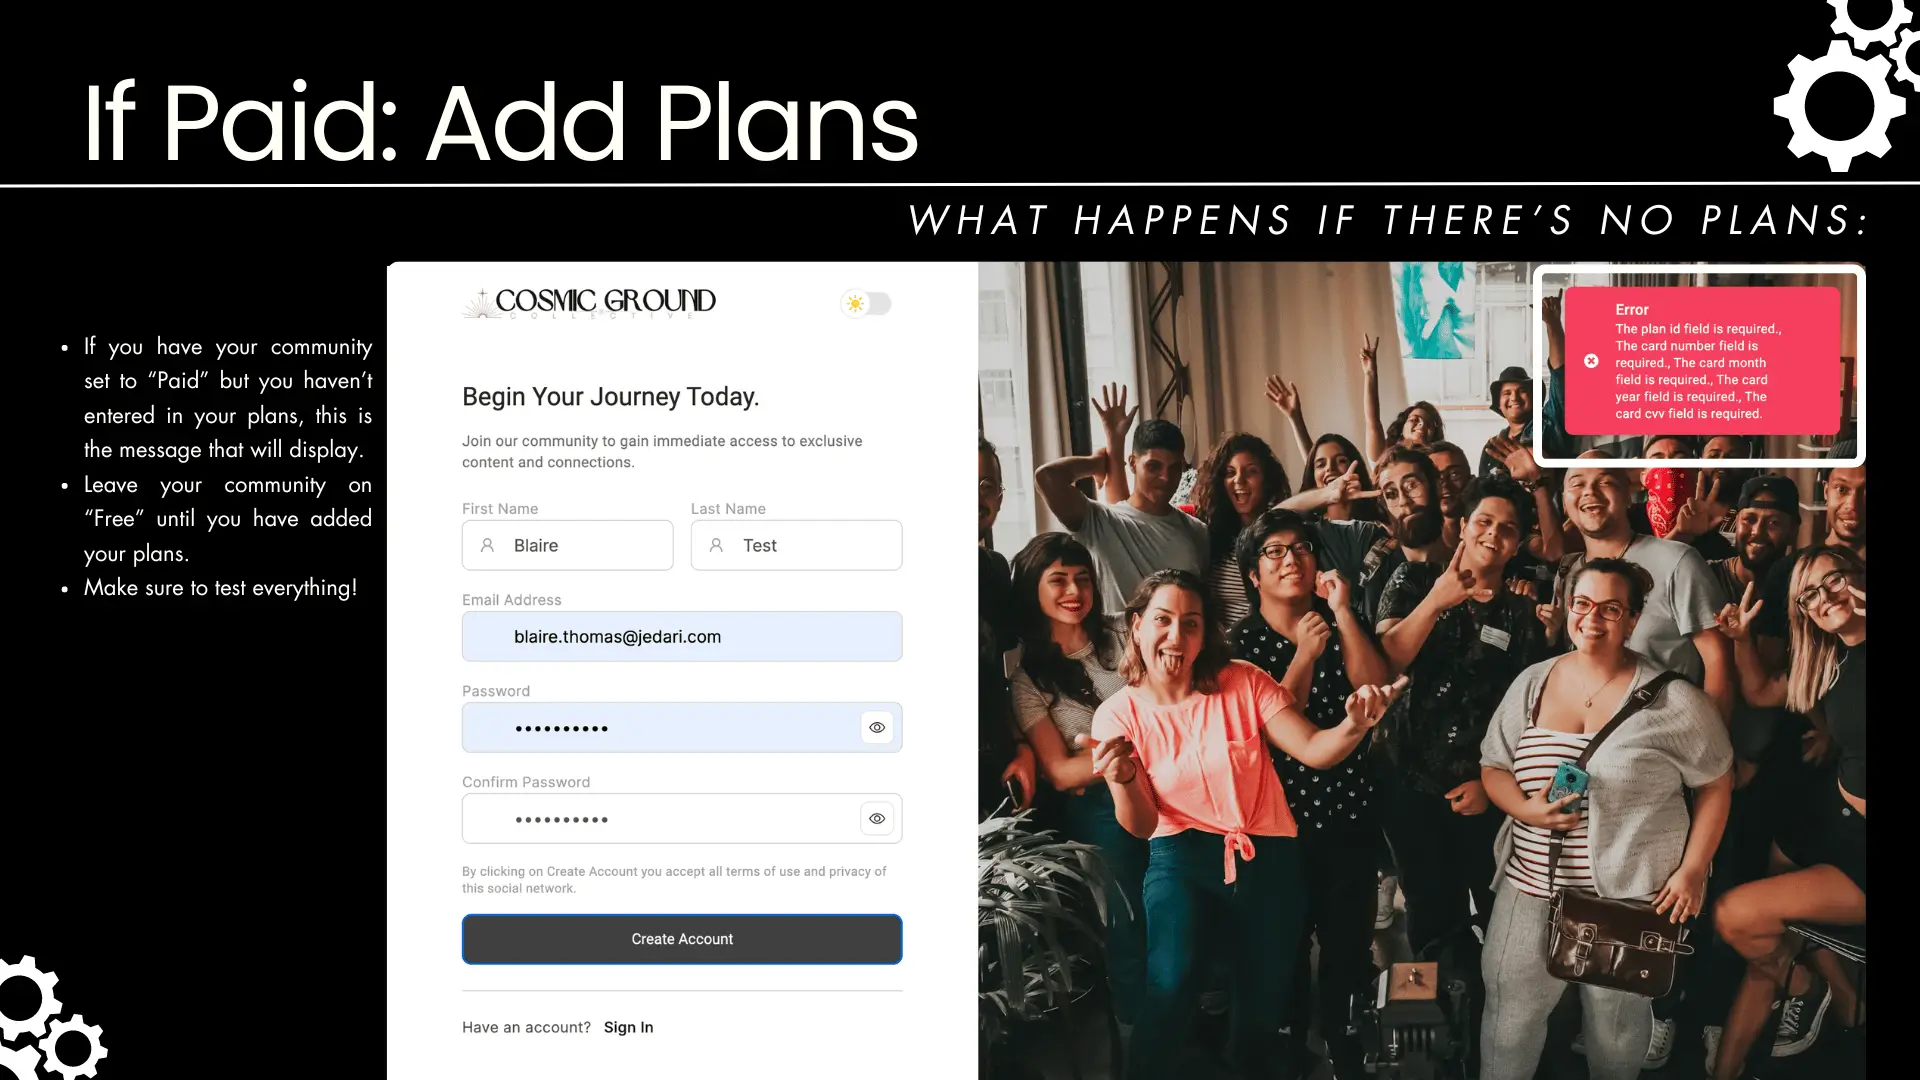
IMPORTANT: If your community is set to PAID, but you don't have plans added, your users will receive an error and get stuck!
TIp: Leave your community on free until you have added your plans.
Check out the full Tutorial on Adding Your Membership Plans here
Congratulations! You did it. You are now a registration expert.
Have questions, feedback, or suggestions? Reach out to welcome@jedari.com.